
Have you ever tried making jam with frozen blackcurrants but ended up with disappointing results? Common issues such as jam separation from direct-frozen cooking and poor solidification due to improper sugar content often stem from inadequate pre - treatment. This guide will walk you through the correct steps to make your homemade jam rival the quality of store - bought ones.
Many beginners make the mistake of directly cooking frozen blackcurrants. This can lead to uneven heating and cause the jam to separate, resulting in an unappetizing texture. Another frequent error is using the same sugar ratio as for fresh fruits. Since frozen blackcurrants have a slightly higher water content, using the wrong sugar amount can prevent the jam from solidifying properly.
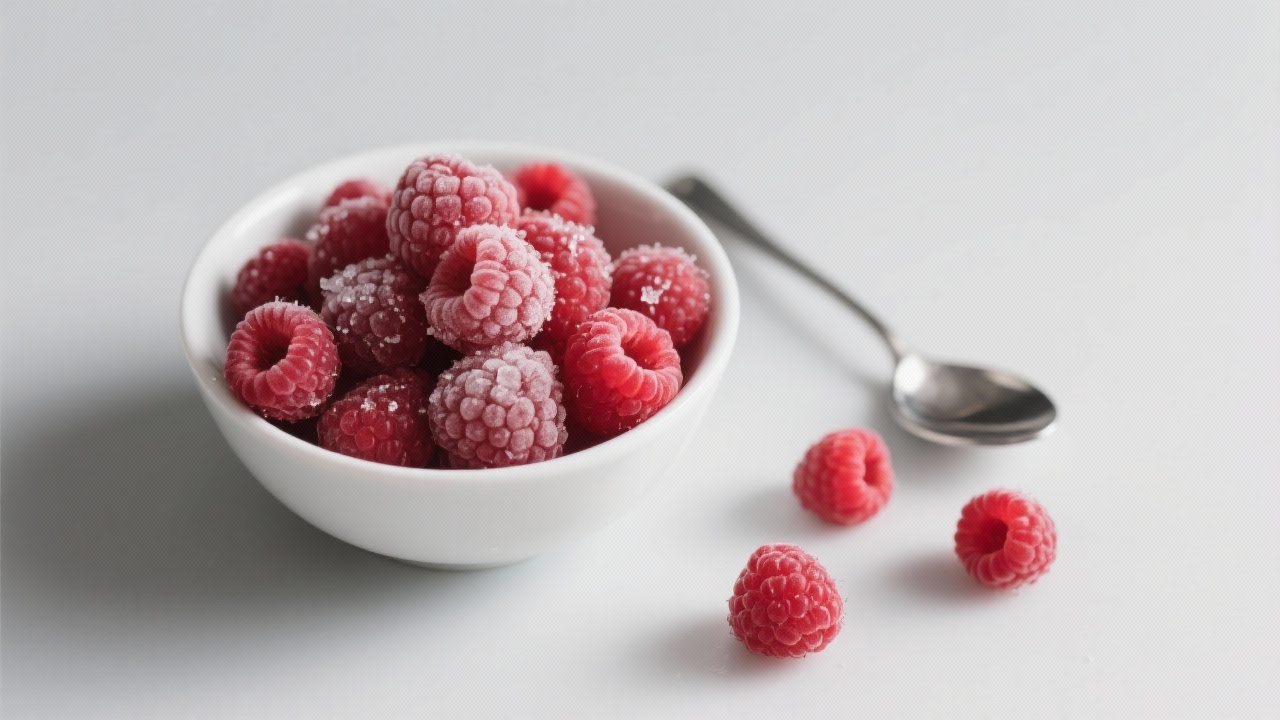
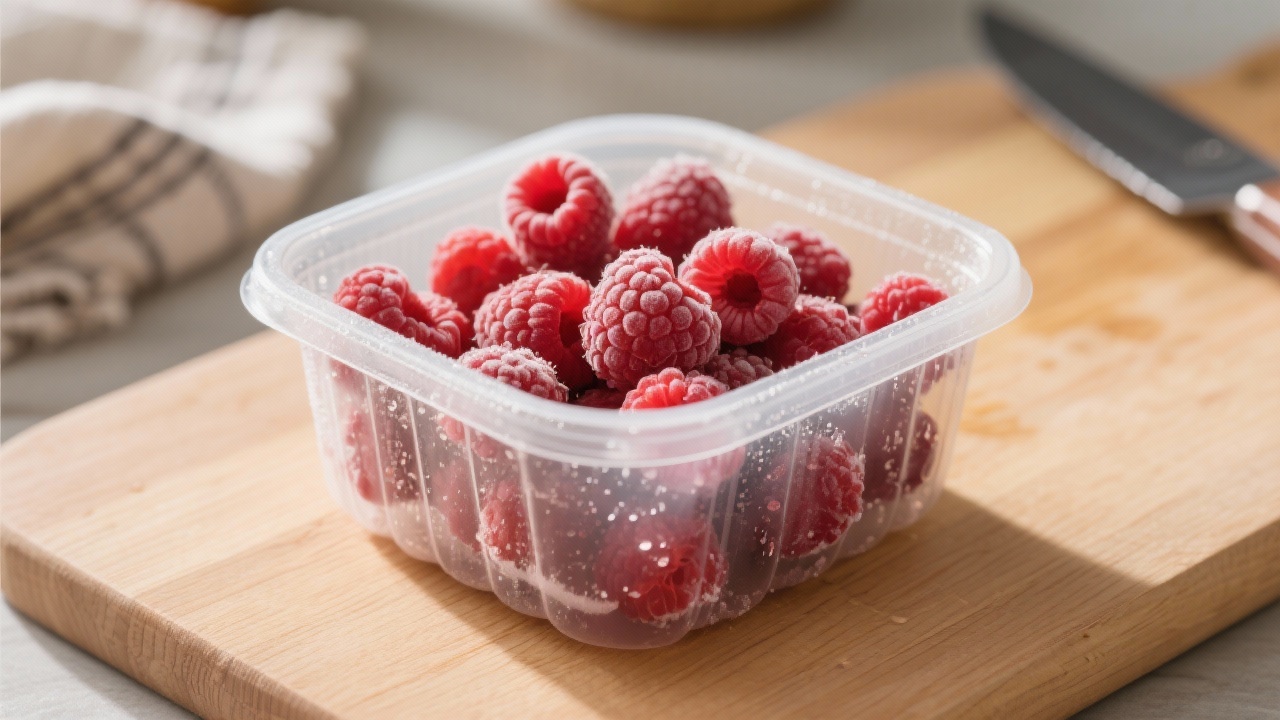
There are two main types of thawing: natural thawing and rapid thawing. Natural thawing, such as refrigerating the frozen blackcurrants overnight, is recommended. It helps maintain the integrity of the fruit pulp, keeping the cell structure less damaged. On the contrary, rapid thawing using hot water or a microwave can break down the fruit cells, releasing more water and affecting the final texture of the jam. Our frozen blackcurrants have an intact fruit rate of up to 95%, which provides an excellent starting point for your successful homemade jam.
After thawing, you need to decide whether to drain the water. If the thawed blackcurrants release a large amount of water, draining some is necessary to avoid a runny jam. You can use a colander to drain the excess water for about 10 - 15 minutes. The key is to observe the consistency of the fruit. If it seems overly juicy, then draining is a must - do step.
Due to the increased water content in frozen blackcurrants, you need to adjust the sugar ratio. A general rule is to use about 20% more sugar than you would for fresh blackcurrants. For example, if you would typically use 1 cup of sugar for 1 pound of fresh blackcurrants, for frozen ones, you might want to use 1.2 cups. This adjustment ensures that the jam will solidify properly and have a good flavor.
When cooking the jam, use a low heat. You will notice key changes during the process. At first, small bubbles will form on the surface, gradually growing larger. As the jam cooks, you can perform a拉丝 test: dip a spoon into the jam and lift it. If the jam forms a thin thread that doesn't break easily, it's getting close to the right consistency. The color of the jam will also darken slightly as the water evaporates. This slow - cooking process usually takes about 30 - 45 minutes, depending on the amount of jam you're making.
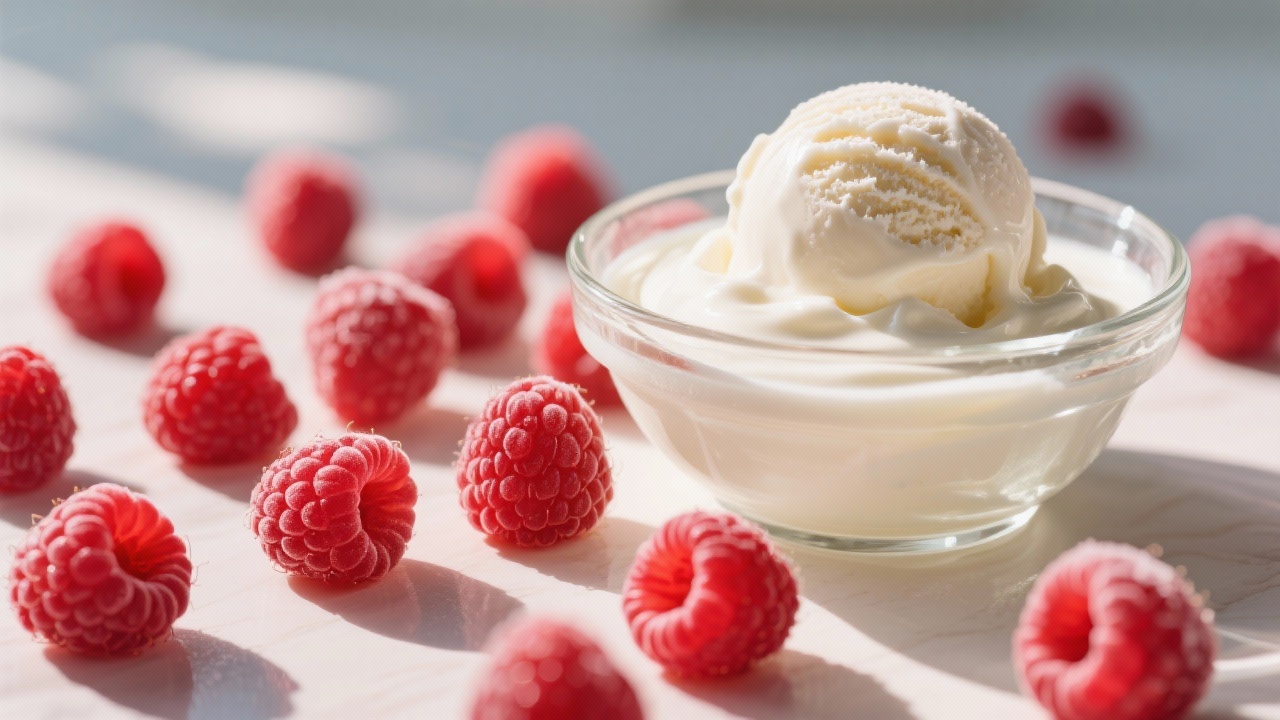
Once the jam is ready, let it cool to room temperature before transferring it to a clean, air - tight container. You can store it in the refrigerator for up to 3 months. This delicious frozen blackcurrant jam can be paired with various foods. It goes great with yogurt, adding a burst of fruity flavor to your morning routine. It can also be spread on toast or used as a filling for desserts.
By following these steps, you can successfully make high - quality frozen blackcurrant jam at home. If you're looking for the best frozen blackcurrants for your jam - making adventures, click here to explore our premium products!


_(2).jpg?x-oss-process=image/resize,m_fill,h_600,w_600/format,webp)


.jpg?x-oss-process=image/resize,m_fill,h_600,w_600/format,webp)